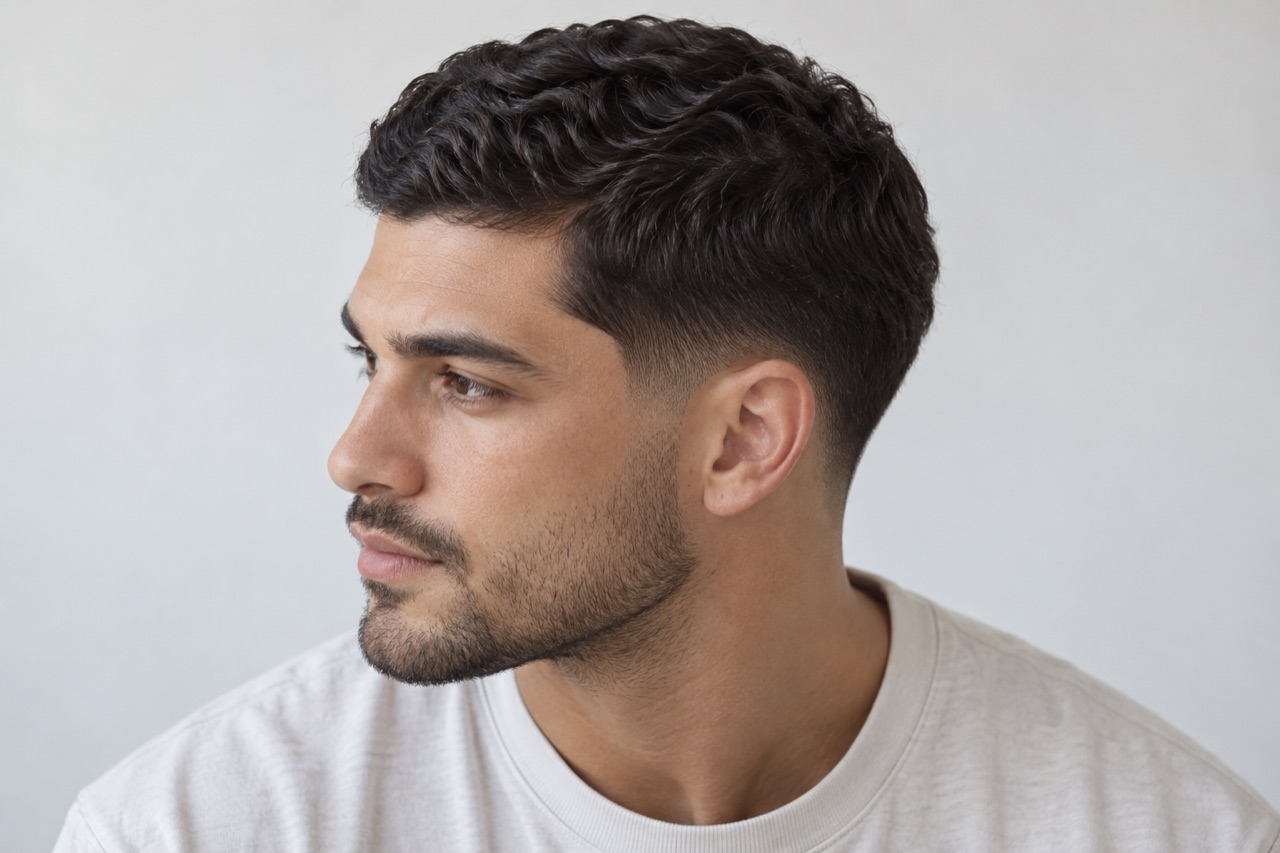
Who it works for
It suits someone who wants a tidy outline but is not ready to expose most of the sides. Straight, wavy, coily and curly tops can all work because the defining change is concentrated at the perimeter. If your hairline is irregular or the temple corners are a concern, keep the taper low and soft rather than carving a sharp line. If you want a stronger change, first decide how much length and scalp exposure you are comfortable with rather than assuming shorter always looks cleaner. Whether you blow-dry, wear a cap or helmet, and can return for edge cleanup all affect the practical fit. Texture and cowlicks are cutting conditions to work with, not flaws that must be hidden.
How to choose
Compare the lowest blend point first: a taper that barely rises above the sideburn keeps the most coverage, while a slightly higher temple transition looks cleaner but changes the profile more. Then compare top length and whether the neckline stays natural or squared. The preview is most useful when front and side views keep the same head angle. Put the reference beside your own front, side and back views and compare the outline, fringe or hairline boundary rather than the model's facial features. Pick the closest structural change, then decide how much daily styling and grow-out effort you are willing to accept.
Before the appointment
Bring a front and profile photo after washing, plus a picture showing how high you do not want the taper to travel. Ask for a low temple and nape cleanup, specify whether you want a soft or crisp edge, and confirm the top length separately. A barber should be able to point to the exact blend boundary before cutting. Save one image you like and one counterexample, and be ready to explain the exact difference. Before the cut, confirm the dry length, wash-day direction and sections that must remain. An AI preview helps compare visual directions; it cannot replace a real consultation or establish a barber's cutting plan.
Living with the look
The compact perimeter often grows out more quietly than a high fade, but the temple corners and neckline still lose definition as hair grows. Brush or refresh the top according to its texture; the taper itself should not require daily product. Choose cleanup timing based on whether you prefer a crisp outline or a softer, natural grow-out, not a universal calendar. Daily care should support the actual low taper fade structure, not reproduce a photographed finish. Start with a small amount of a tool or product suited to your texture; if one side grows faster, clean up that area instead of shortening everything. Set a trim rhythm by how crisp you want the outline to remain, not by a universal schedule.
Real limitations
A low taper does not make every haircut a fade and will not create more density at the crown. On very short hair, the contrast may be subtle; on long, bulky sides, the small taper may not deliver the dramatic transformation in some reference photos. AI cannot reproduce exact clipper lengths, growth speed, cowlick behavior or your barber's hand technique. A real result also depends on length, growth direction, curl spring, head shape and the person cutting it. AI cannot guarantee a haircut or chemical service, or predict the exact result after washing, humidity or a full day. Treat the preview as a communication sketch; base the final plan on your own hair and an in-person assessment.
Mistakes to avoid
Do not point to a skin fade if you only want the sideburns and neckline cleaned. Another mismatch is asking for a low taper but showing a high temple fade; those boundaries are visibly different from the side. Agree on how much skin should show, the shape around each ear and the top length before treating the label as a complete haircut instruction. Another common mistake is naming the cut without specifying its top, edge and side treatment. Before deciding, repeat back the version you chose, how much time you will spend styling it and which length must stay. A polished reference photo is a starting point for questions, not a promise of identical hair.