YOUR PHOTO. YOUR NEXT IDEA.

AI image editorChange the detail. Keep the story.

Clean up a distraction, replace an object or draw something new into your photo. Choose AI eraser, brush and replace, text instructions or sketch editing—all in one workspace.

One photo at a time · No installation · Check credits before generating

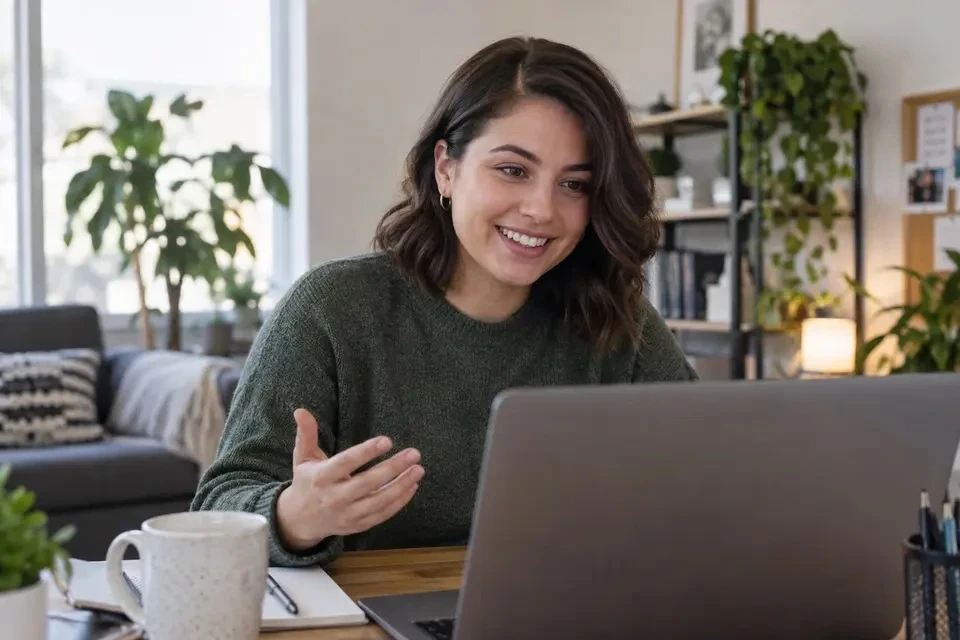
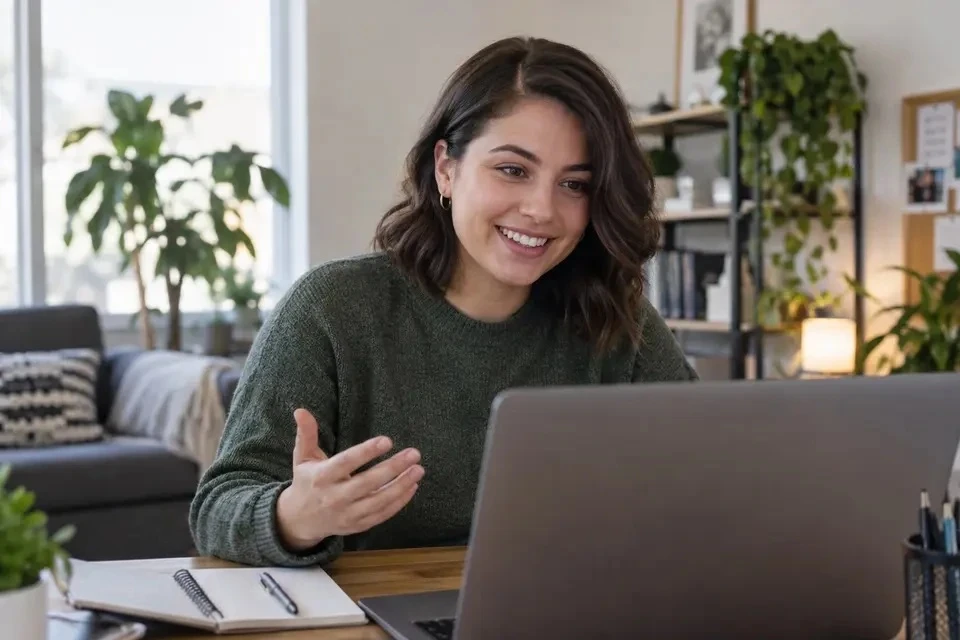
Original desk photo with a woman, laptop, plants and a white cupOriginal
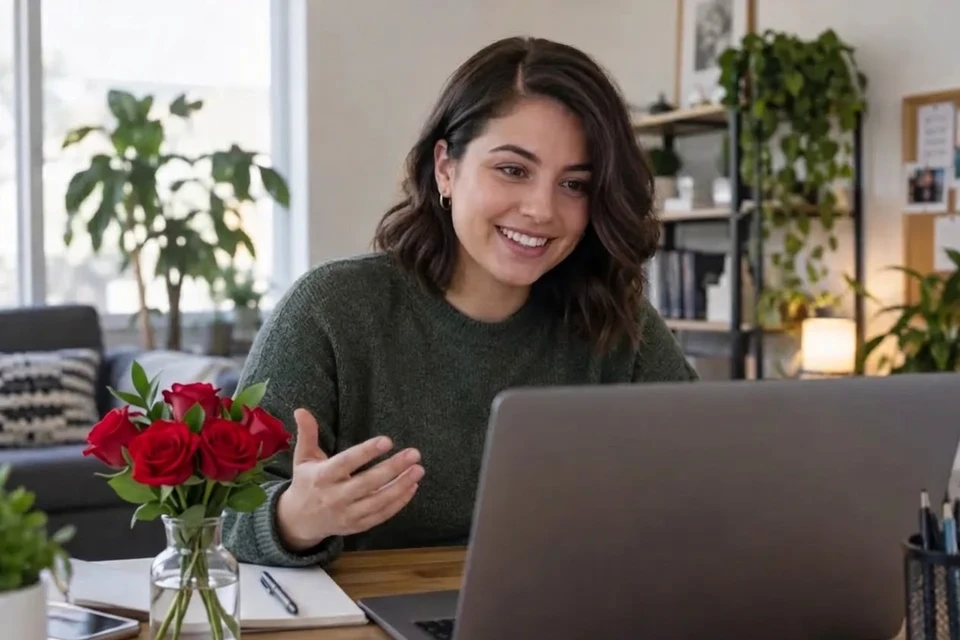
Desk photo edited by a text instruction, replacing the white cup with red rosesAI edited
Tell AI what to change and what to keep. Here, the cup becomes a vase of red roses. No painting is needed; this mode can change details across the photo.
AI image editor

Four ways to edit the photo you already have

Choose by the change you want. Painting controls the location; words describe the change; a sketch adds shape and placement.

Original desk photo with a woman, laptop, plants and a white cupOriginal
Original desk photo and AI eraser result with the white cup removedAI edited
01

AI eraser: remove unwanted objects

Paint over an object and its shadow. In this example, the white cup is removed and the table is filled in; the working image outside the painted area is retained.

Remove an object from my photo ↗
Original desk photo with a woman, laptop, plants and a white cupOriginal
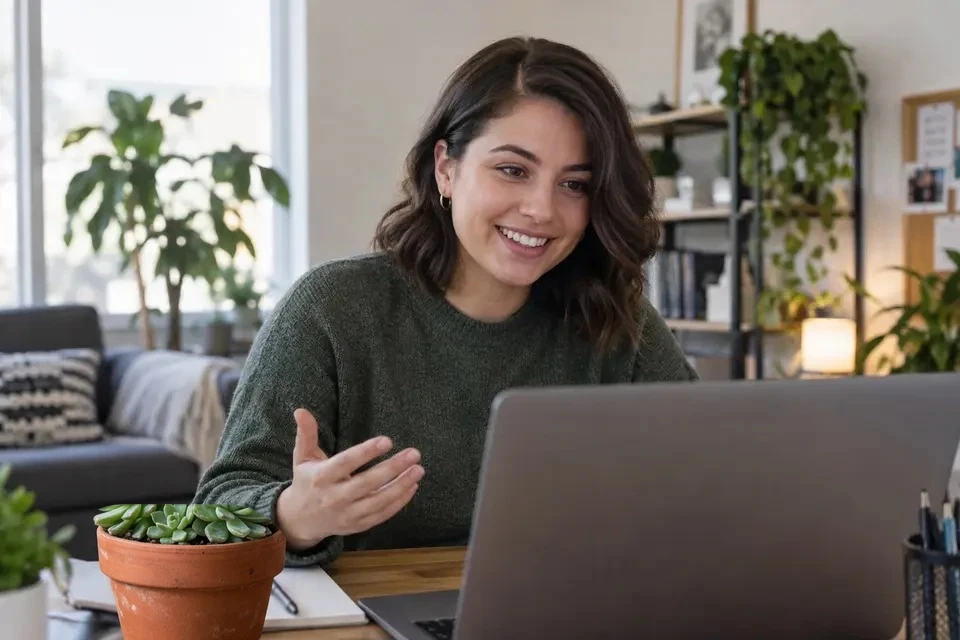
Desk photo after the white cup is replaced by a small potted succulentAI edited
02

Brush and replace with generative fill

Mark the area and describe its replacement. A small succulent replaces the cup here. Specify the object, material and scale so it fits the scene.

Replace an object in my photo ↗
Original desk photo with a woman, laptop, plants and a white cupOriginal
Desk photo edited by a text instruction, replacing the white cup with red rosesAI edited
03

Edit photos with text instructions

Tell AI what to change and what to keep. Here, the cup becomes a vase of red roses. No painting is needed; this mode can change details across the photo.

Try instruction editing ↗
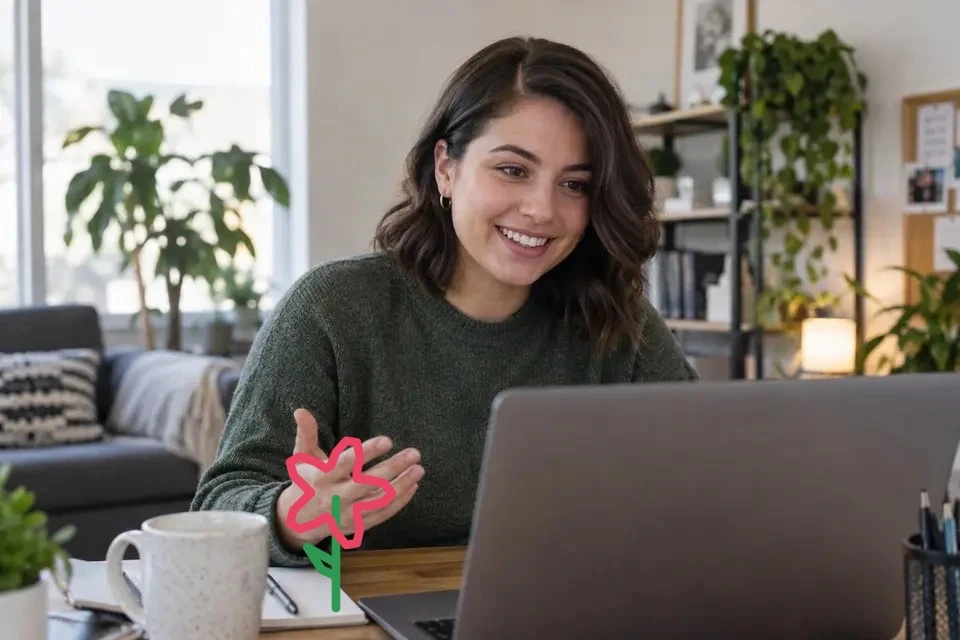
Coloured rough flower sketch drawn onto the original desk photoSketch guide
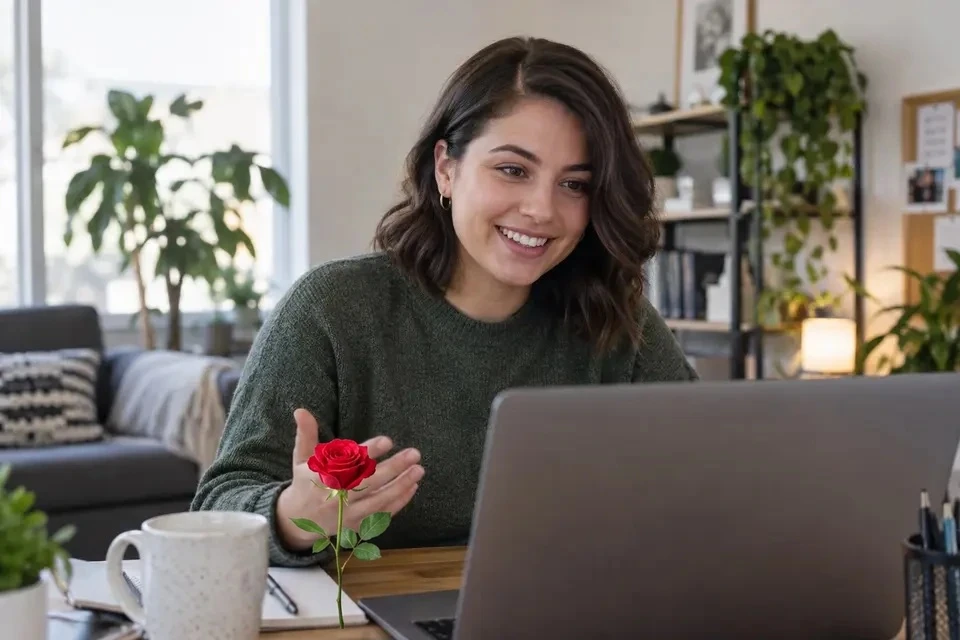
A small red rose generated from a coloured sketch on the desk photoAI edited
04

Sketch editing: draw an idea into your photo

Draw a rough flower where it should appear, then generate. The coloured sketch becomes a small rose in the photo; a short description is optional.

Draw and generate in my photo ↗

Actual AI test outputs from this editor, not customer results. Each pair shows one example, not a guarantee for every photo.

AI cleanup for the distractions you see most

Choose one or more removal actions. They form one whole-photo editing request; no brush strokes are needed. Use Free erase when you need to specify exactly what stays or goes.

Choose multiple actions

From your original photo to a checked result

  1. 01

    Upload one photo

    Choose a JPG, PNG or WebP, or reuse one from recent uploads. Keep a copy of the original.

  2. 02

    Choose how to edit

    Select cleanup actions, paint and describe a replacement, write an instruction, or draw a sketch.

  3. 03

    Review credits and generate

    The floating bar shows the estimate and balance. You need to sign in and have sufficient credits. Once submitted, you can submit another task.

  4. 04

    Compare and download

    Check the result against the original, inspect edges and faces, and download the version you want. Saved tasks are available in My Works.

A clearer input gives you more control

  • Use a sharp original, with objects separated from the main subject when possible.
  • For a brush edit, cover the whole target and any shadow you want removed; avoid nearby details you want to retain.
  • In instructions, name the target, the replacement and the details that must stay. Draw sketches at the intended position and size.

Choose the right scope for the change

Whole-photo instructions and cleanup presets may change nearby detail; their preservation is not pixel-exact. Brush edits preserve the working photo outside the marked area, and sketch edits preserve the area outside the displayed bounds. Inputs: JPG, PNG or WebP, up to 20 MB and 30 megapixels, at least 256 pixels per edge. Processing size and credits are chosen automatically. Large or ambiguous removals may need a smaller manual correction. Some edits may be declined by the generation service.

Questions about AI photo editing

What is the difference between an AI image editor and an image generator?

An editor starts from your photo and changes its content. A generator can create a new image from text. Choose this editor to remove, replace or add something to a photo you already have.

Can I remove watermarks, logos and text together?

Yes. Select multiple cleanup actions to send one editing request. They use the credit estimate for one result, not a separate task for each checkbox. Check the filled areas before downloading.

When do I need to paint over the photo?

Free erase needs a painted area; brush and replace needs an area plus a description. Instruction editing needs a description, and sketch editing needs a drawing. Selected cleanup presets need only your photo.

How do I replace an object using text?

For location control, choose brush and replace, paint over the object and describe the new one. To work without painting, choose instruction editing and specify which object to replace and what must remain.

Is sketch editing the same as a photo-to-sketch filter?

No. Sketch editing turns a drawing on your photo into a new object. A photo-to-sketch filter changes the visual style of the existing image; use Photo Filters for that.

Is AI photo editing free?

Generation uses account credits. The workspace shows the current estimate and balance before submission, and opens a top-up dialog if the balance is insufficient. Download quality follows your account plan.

Can I edit another photo before a task finishes?

Yes. After a task is accepted, you can submit another task, including the same photo and editing mode. Each submission has its own credit cost and result.

AI image editor

Change the detail. Keep the story.

One photo at a time · No installation · Check credits before generating

Upload a photo to edit ↗