Modern Shag Haircut: Compare 8 Wearable Variations
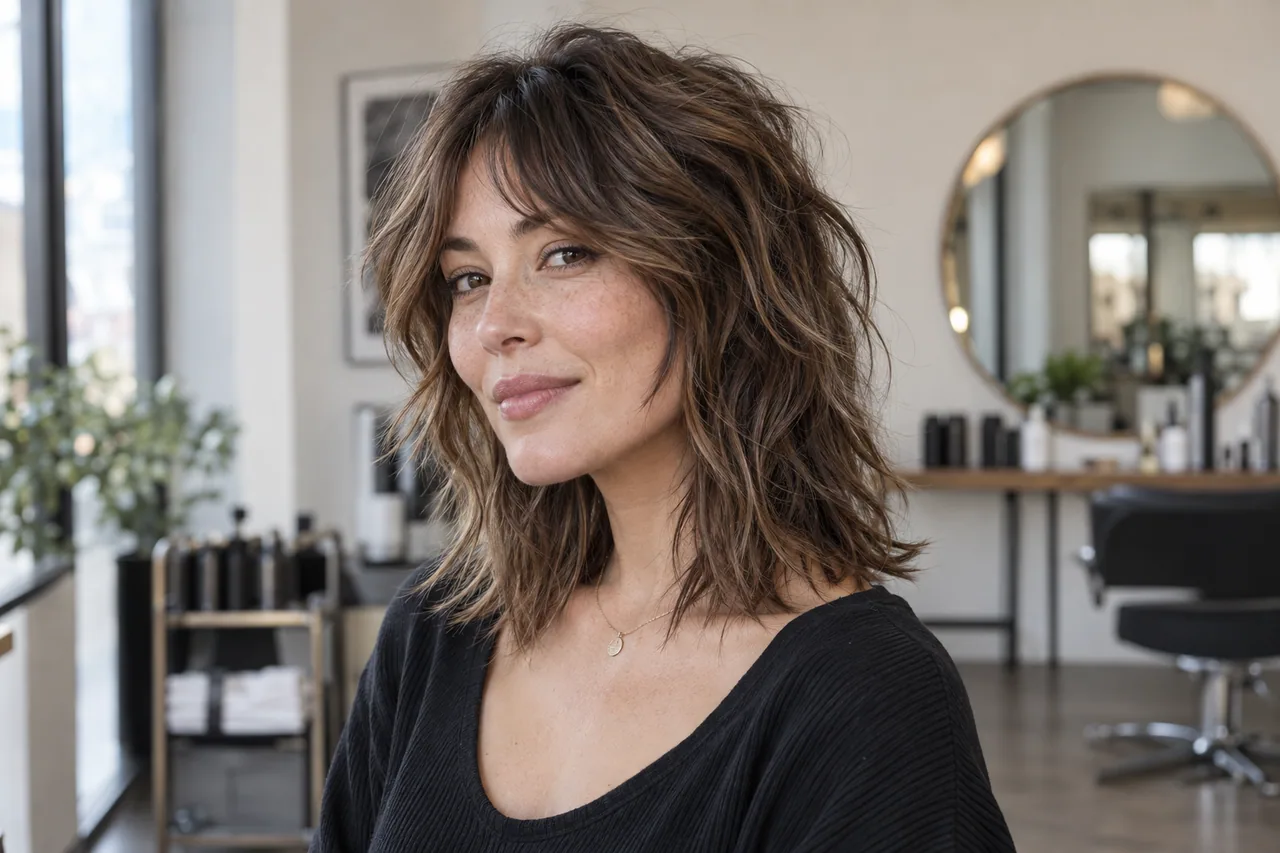
A modern shag is built from visible layers, movement around the face and a lighter perimeter—not from making every strand messy. Start with where the shortest face-framing piece lands, then decide how much weight to remove at the crown and ends. The reference image shows one collarbone-length interpretation; your density, curl pattern and current length may create a different result. The eight directions below are choices within the shag family, not eight interchangeable haircuts.
AI-made, theme-specific reference—not a customer result. Real cuts and colors depend on your hair and the service.
01 / Decision guide
Start with your own hair and routine
Who it works for
This guide is most useful if you want movement without a blunt, one-length outline and can spend a few minutes encouraging your natural texture. Straight, wavy and curly hair can all support a shag, but the cutting plan changes. Fine hair usually needs a stronger perimeter so the ends do not look sparse. Very dense hair may need selective weight removal rather than indiscriminate thinning. If your hair is already short around the crown, ask how much additional layering is actually possible.
How to choose
Choose the shortest layer before choosing a reference photo. A cheekbone-level piece emphasizes the eyes; a jaw-level piece is easier to tuck and grows out more quietly. Compare the front and profile, not only a styled front-facing image. Decide whether you want a real fringe, a curtain opening or no bangs at all. Bring photographs of your hair air-dried as well as styled so the stylist can see its actual fall and cowlicks.
Before the appointment
Before an appointment, save a front, side and back reference that show similar hair density to yours. Point out any parting you cannot comfortably change. Ask the stylist to demonstrate the shortest planned crown layer and where the ends will finish after natural shrinkage. If you are using the AI preview, upload a clear photo with the hairline visible and compare more than one version; the preview is a decision aid, not a cutting diagram.
Living with the look
The usual daily work is restoring separation at the crown and around the face, not recreating a salon blowout. Air-dry with a light texture product when your pattern cooperates, or use a diffuser or round brush only on the front pieces. Keep the ends conditioned; dry, split ends can make deliberate texture look accidental. Layer definition gradually softens as hair grows, so ask about a trim schedule that fits how sharp you want the outline.
Real limitations
A shag does not automatically create more hair or make every curl pattern identical. Excessive short layers can expose scalp on fine hair or produce unwanted width on very dense curls. An AI image cannot show how your hair behaves after washing, in humidity or without styling. If you want a wash-and-go result, ask for a plan that works with your actual texture and be prepared to choose longer, less aggressive layers.
Mistakes to avoid
The common mistake is copying a dramatic editorial photo while asking for no daily styling. Another is treating ‘shag’ as one fixed length: a short shag and a long shag have different grow-out and face framing. Avoid asking for maximum thinning simply to remove bulk; it can fray the perimeter. Use the comparison below to name a specific layer placement, fringe decision and maintenance level before you commit.
02 / Specific comparisons
Eight distinct directions, with their trade-offs
Each option names a real structural or color difference and its cost. The hero illustrates one direction; it does not pretend to depict all eight.
01
Collarbone shag with airy fringe
The most balanced starting point: cheek-to-jaw framing, broken-up collarbone ends and a light fringe. It suits someone keeping ponytail flexibility. Watch whether the fringe separates around a cowlick and whether the shortest crown layer still lies comfortably after air-drying.
02
Long shag with curtain opening
Keep length through the back and open the front in two soft wings. This is easier to grow out than a full fringe, but the front pieces can collapse if your roots are very flat. Try the parting on your own photo before removing much weight.
03
Short choppy shag
Shorter crown and perimeter pieces make texture prominent from the side as well as the front. This is a higher-commitment cut: it may not tuck behind the ear or tie back. Check your current length and daily styling tolerance before asking for this version.
04
Fine-hair soft shag
Use fewer, longer layers while preserving a solid-looking bottom edge. The aim is visible movement without transparent ends. Ask to inspect the outline dry; more layers do not equal more density, and too much razoring can make fine hair look thinner.
05
Dense-hair debulked shag
Distribute weight internally and keep intentional shape around the temples. This can feel lighter without turning every end wispy. The trade-off is that over-thinning may make humid-weather frizz harder to control, so discuss your usual drying routine.
06
Wavy natural-texture shag
Cut with the wave pattern in mind so the shortest layers spring to a flattering position. It can air-dry beautifully when the outline is balanced, but wet-to-dry shrinkage changes the finished length. Compare a dry reference, not just a glossy blowout.
07
Curly rounded shag
Build a rounded crown while keeping curl families together rather than cutting random short pieces. The shape can free natural volume; it can also widen at the cheeks if layers are placed too high. A curl-aware consultation matters more than a generic shag label.
08
No-bangs face-framing shag
Choose longer pieces starting near the jaw and leave the forehead open. This is the lowest-fringe-maintenance option and works when you often change your part. It will read less retro than a full shag, so keep enough crown texture to make the cut intentional.
03 / Next step
Preview a direction, then discuss the real service
Use a clear, hairline-visible photo in the generator and select the closest style or describe the direction. AI helps compare silhouette and color; it cannot guarantee a real cut, lightening result or wear time.