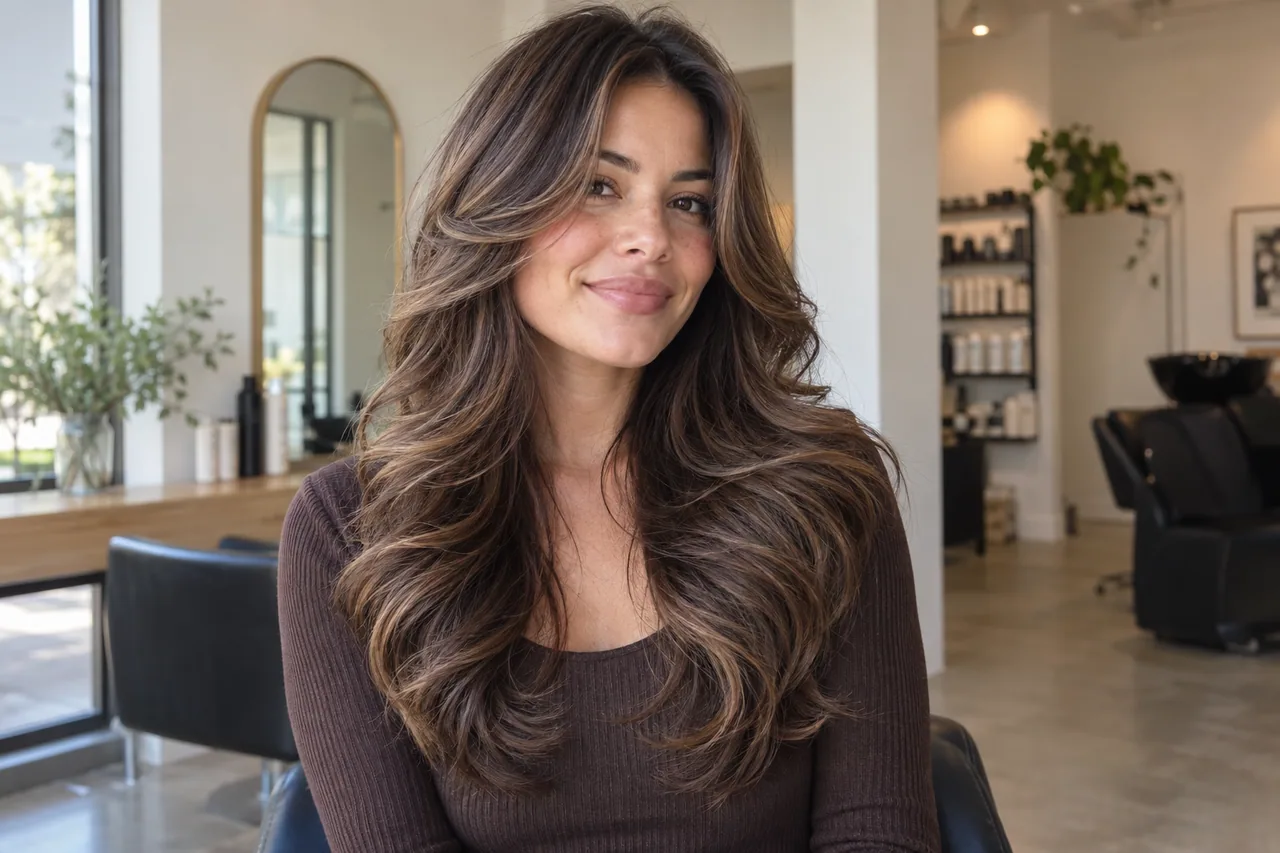
The butterfly haircut uses shorter face-framing layers that sweep away from the face while the back retains noticeably longer hair. Its appeal is the contrast between a short-looking front and a long silhouette, not simply having many layers. The hero shows a styled outward sweep; without that styling the same cut may lie much flatter. Before choosing it, decide where the shortest front layer will land and how much length you are unwilling to lose at the back.
AI-made, theme-specific reference—not a customer result. Real cuts and colors depend on your hair and the service.
01 / Decision guide
Start with your own hair and routine
Who it works for
This cut can work for someone who wants a visible change while keeping the option to tie or wear long hair. Medium and dense hair often has enough mass to show cascading layers, but too much weight can pull down the front. Fine hair may need fewer layers and a stronger bottom edge to avoid transparent ends. Wavy hair can create natural movement; tight curls may shorten the visible front much more than a straight-hair reference suggests. A very short existing cut cannot immediately produce the long-back contrast.
How to choose
Compare a cheekbone, jaw and collarbone starting point for the shortest layer. A cheekbone layer creates the most dramatic face frame but may fall out of a ponytail; a collarbone start preserves control and is easier to grow out. Decide whether a curtain fringe is part of the cut or a separate commitment. Inspect the back as well as the front: if the ends are already thin, keeping the full length while adding heavy layers can worsen the perimeter.
Before the appointment
Bring front, profile and back images with a similar starting length and density. Ask the stylist to show the proposed shortest layer and the amount of hair it will remove from the perimeter. If you wear your hair tied for work or sport, test whether the short front pieces can be secured. In AI, compare one dramatic and one conservative version on a hairline-visible photo; the preview cannot prove how much natural volume your roots will hold.
Living with the look
The signature winged shape often depends on drying the front away from the face with a round brush or large roller. You do not have to style the whole head, but the front layers may need a quick reset after sleep. Use heat protection when heat-styling and keep the long ends conditioned. Without heat, accept a softer layer pattern that depends on your natural texture. Trim the front and back in a way that preserves their intended contrast rather than automatically taking equal length everywhere.
Real limitations
A butterfly cut does not create density, and an AI preview may exaggerate how easily the layers flip outward. Fine hair with too many short pieces can look stringy; dense hair can feel heavy if the stylist removes only surface layers. A haircut photo taken immediately after a blowout is not proof of wash-and-go performance. If you require completely hands-off mornings, choose a longer front layer and less theatrical winging.
Mistakes to avoid
Do not confuse the butterfly cut with a shag: the butterfly normally retains a fuller long back and more controlled face-framing arcs, while a shag carries more broken texture throughout. Avoid asking for 'all the layers' without naming the shortest one. The most costly error is cutting a dramatic cheekbone layer, then discovering it cannot be tied away for daily routines. Use the eight placements below to choose a version you will actually wear.
02 / Specific comparisons
Eight distinct directions, with their trade-offs
Each option names a real structural or color difference and its cost. The hero illustrates one direction; it does not pretend to depict all eight.
01
Cheekbone-start butterfly layers
Short front pieces sweep outward at cheek level for the clearest butterfly effect. They frame photos strongly but often escape a ponytail and require front-section styling.
02
Jaw-start butterfly layers
The shortest front layer begins lower, giving a visible arc without exposing as much of the cheek. It is a moderate entry point, though it may still need pins when hair is tied.
03
Collarbone-start butterfly layers
Longer front pieces keep more control and grow out quietly. The style reads subtler and may need a pronounced blowout to show the butterfly shape clearly.
04
Butterfly cut with curtain fringe
A center-opening fringe adds a second, shorter face frame above the main layers. It can be flattering but demands more frequent trimming and separate morning drying.
05
Fine-hair restrained butterfly
Use fewer short layers and protect a solid-looking bottom edge. This can give movement without sacrificing visible fullness, but the dramatic cascading reference may be unrealistic on very sparse ends.
06
Dense-hair weight-balanced butterfly
Remove weight intentionally within the long lengths so the front can lift. Too much surface thinning can create frizz and make the long back appear ragged.
07
Wavy natural butterfly
Allow natural waves to express the layers without a polished roller finish. Set the shortest point for the dry wave; one side may spring more and need a different final trim.
08
Long-back minimal-loss butterfly
Keep the greatest possible back length and focus change around the face. This protects tying flexibility, but if the ends are damaged or thin, a small perimeter trim may still be needed.
03 / Next step
Preview a direction, then discuss the real service
Use a clear, hairline-visible photo in the generator and select the closest style or describe the direction. AI helps compare silhouette and color; it cannot guarantee a real cut, lightening result or wear time.