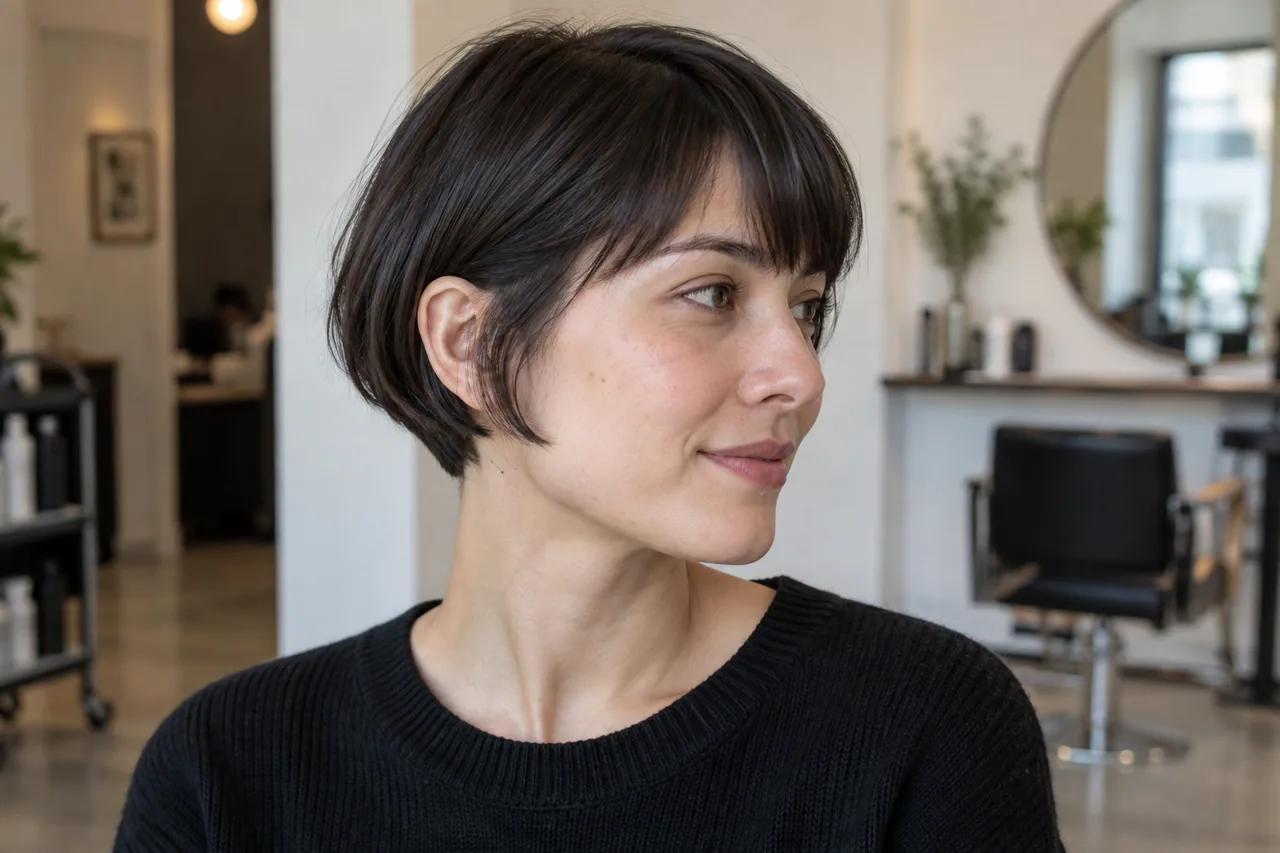
A micro bob ends around the ear or high jaw rather than the chin or collarbone. That small difference changes how much of the ear, neck and hairline is visible and removes most easy tie-back options. The image shows one compact interpretation, not a guarantee of what a short cut will do on your hair. Before choosing a reference, identify the shortest dry point you can live with; short hair can visually spring upward as it loses weight.
AI-made, theme-specific reference—not a customer result. Real cuts and colors depend on your hair and the service.
01 / Decision guide
Start with your own hair and routine
Who it works for
This is for someone who wants an unmistakably short outline and accepts that the shape will change quickly as it grows. It can be striking on fine hair if the edge remains substantial, and on dense hair if the nape is designed carefully. Natural waves or curls can make the finished silhouette much shorter or wider than a straight-hair photo suggests. If you rely on tying hair away from your face for work, sport or headwear, check whether a micro bob really meets that need.
How to choose
Compare earlobe, lower-ear and high-jaw lengths in the mirror, then inspect the back. Decide whether the ear should be exposed, partly covered or framed by a longer front corner. A side part can soften the line; a fringe makes the face frame more deliberate but adds a separate trim. Unlike an ordinary bob, the nape and ear area dominate the result. Do not confuse a cropped pixie with a micro bob: the latter still has a recognizable bob-like perimeter.
Before the appointment
Pin or digitally preview the hair at your proposed length and wear it that way for several hours. Bring side and back references, and tell the stylist how your hair grows around the ears and nape. Ask for a conservative first cut followed by a dry refinement. If your hair is curly, agree on the target dry position rather than a wet measurement. AI can help compare outline and confidence, but not predict the exact sensation of exposed ears or a short nape.
Living with the look
Short hair can require less drying time but more frequent shape maintenance. A few weeks of growth may turn a crisp micro bob into a conventional short bob, particularly behind the ears. Use lightweight product to guide the top without creating a helmet. Check the nape and both side profiles after washing; asymmetric growth or a strong cowlick becomes obvious quickly. Plan how you will manage awkward lengths if you later decide to grow it out.
Real limitations
A micro bob does not erase a difficult cowlick, change your hairline or guarantee low effort. Dense hair may push outward at the ear; fine hair may collapse if the edge is over-thinned. An AI preview can make every short strand sit neatly even when real humidity and sleep do not. If you are uncertain about the loss of ponytail length, start with a chin bob and shorten later rather than jumping directly to ear level.
Mistakes to avoid
The largest mistake is using 'micro' without pointing to an exact dry endpoint. Another is viewing only a front photo: the nape can turn a sophisticated silhouette into an accidental bowl shape. Do not choose a heavy blunt fringe merely because it appears in one reference; it changes maintenance and forehead balance. Discuss ear exposure, back shape and grow-out before the first cut, then compare these eight realistic variants.
02 / Specific comparisons
Eight distinct directions, with their trade-offs
Each option names a real structural or color difference and its cost. The hero illustrates one direction; it does not pretend to depict all eight.
01
Earlobe micro bob
The bottom edge meets the earlobe and keeps a clear bob-like line. It exposes the neck and is difficult to tie back. Check how the hair pushes around your ear after washing.
02
Lower-ear micro bob
A fraction longer than the strict earlobe cut, this retains some softness around the ear. It may feel safer for a first short cut but can quickly read as an ordinary short bob as it grows.
03
High-jaw micro bob
The front corners angle toward the high jaw while the back stays shorter. It frames the face more than a uniform crop, yet the difference between front and back must be deliberate to avoid an unintended wedge.
04
Fringe-free micro bob
The forehead remains open so the perimeter does most of the visual work. It avoids fringe maintenance but puts more attention on your natural hairline and part; try your usual parting in the preview.
05
Soft-fringe micro bob
A light front fringe can balance the exposed ears. It creates a strong short-cut identity, though both the fringe and nape may need frequent trimming and cowlicks can disrupt the line.
06
Side-part micro bob
A gentle diagonal part keeps the compact cut from feeling too severe. It needs enough top length to move, and a strong growth pattern may force a different sweep than the reference photo.
07
Fine-hair solid-edge micro bob
Retain a firm outer line so the short cut looks intentional rather than wispy. Do not over-razor the ends; fine hair still needs a realistic density assessment in daylight.
08
Wavy or curly micro bob
Build the shape around natural spring and volume, not a straightened measurement. It can be lively and low-heat, but the dry perimeter may rise above the ear; agree on that endpoint in advance.
03 / Next step
Preview a direction, then discuss the real service
Use a clear, hairline-visible photo in the generator and select the closest style or describe the direction. AI helps compare silhouette and color; it cannot guarantee a real cut, lightening result or wear time.