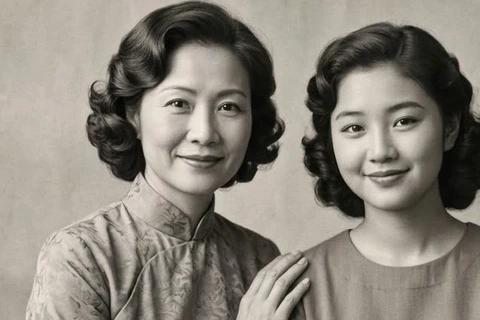
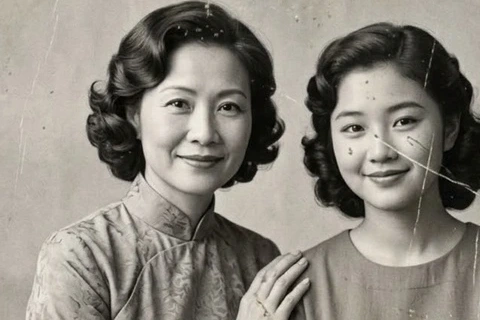
Visible scratches and spots
Restoration only, keep monochrome
Compare scratches, spots and fading on the background, clothing and cheeks. This case restores without adding colour, retaining monochrome tones.
Edit with these settings ↗
Start with photo repair to tidy visible scratches, stains and fading in a scanned photograph. The instruction aims to retain people, composition and period character. Keep the original black-and-white look or select colourisation alongside repair.
Edit my photo ↗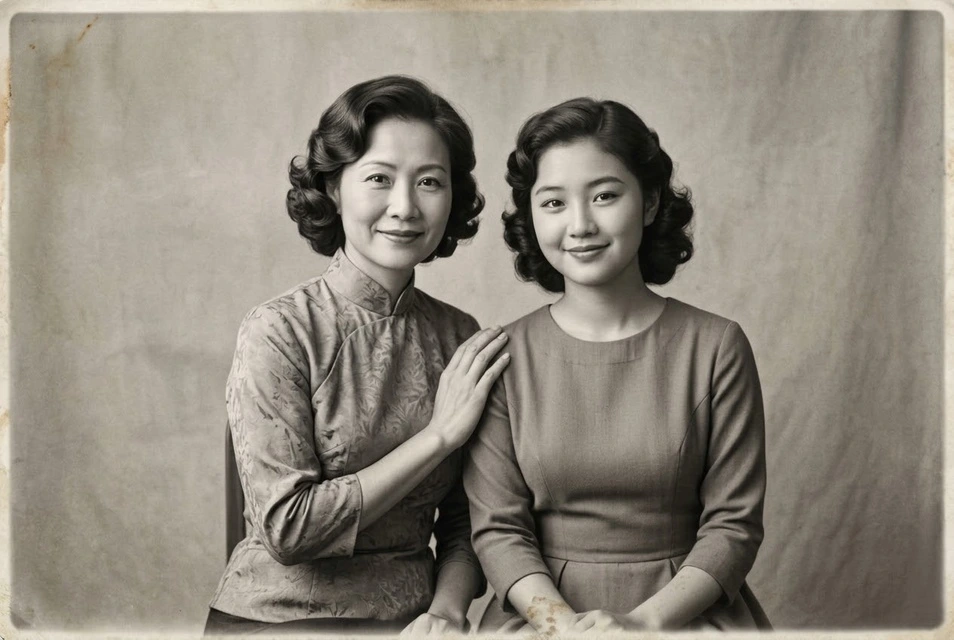
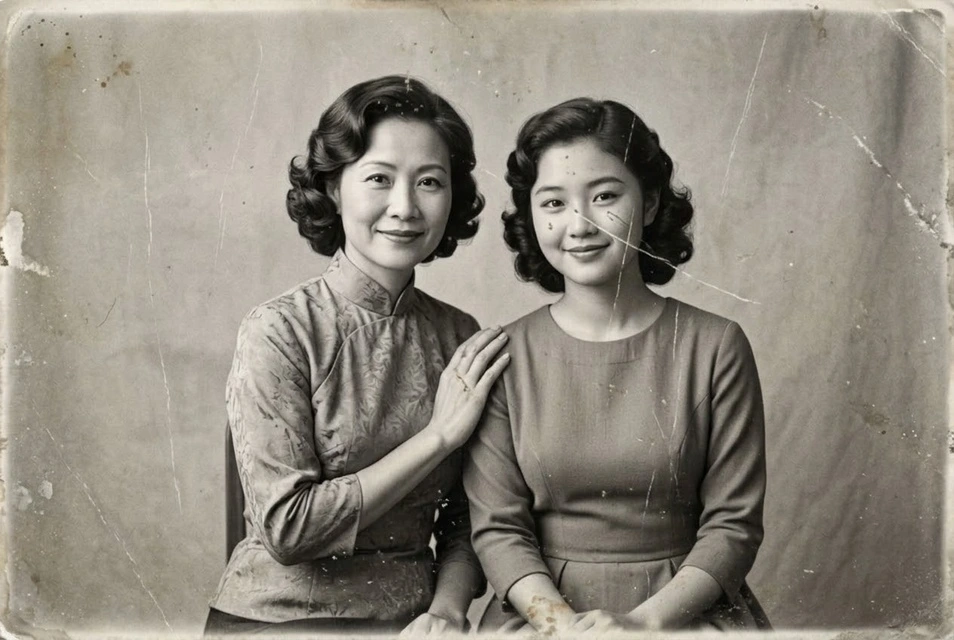
Restoration only, keep monochrome
Compare scratches, spots and fading on the background, clothing and cheeks. This case restores without adding colour, retaining monochrome tones.
Edit with these settings ↗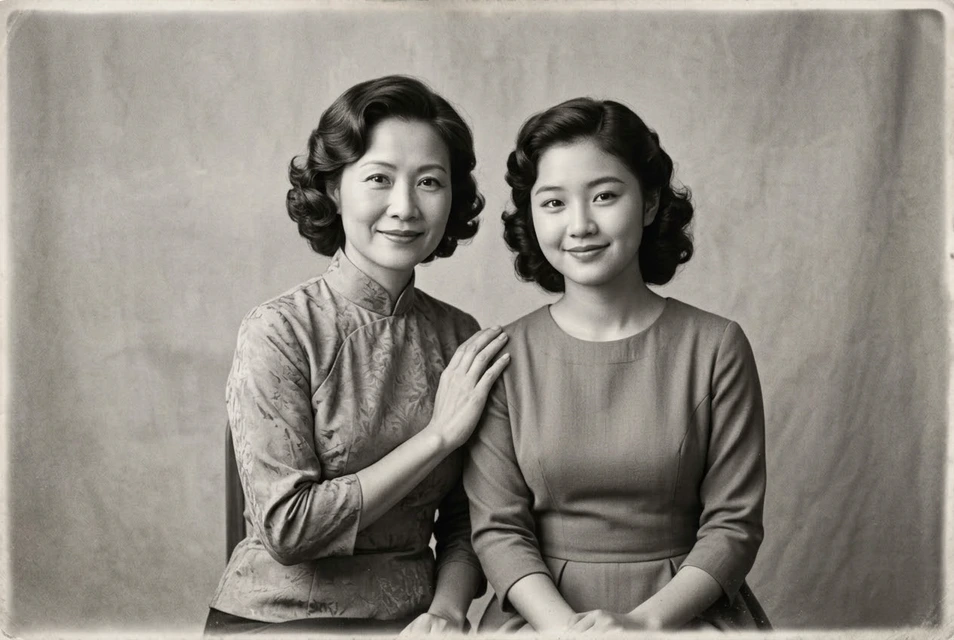
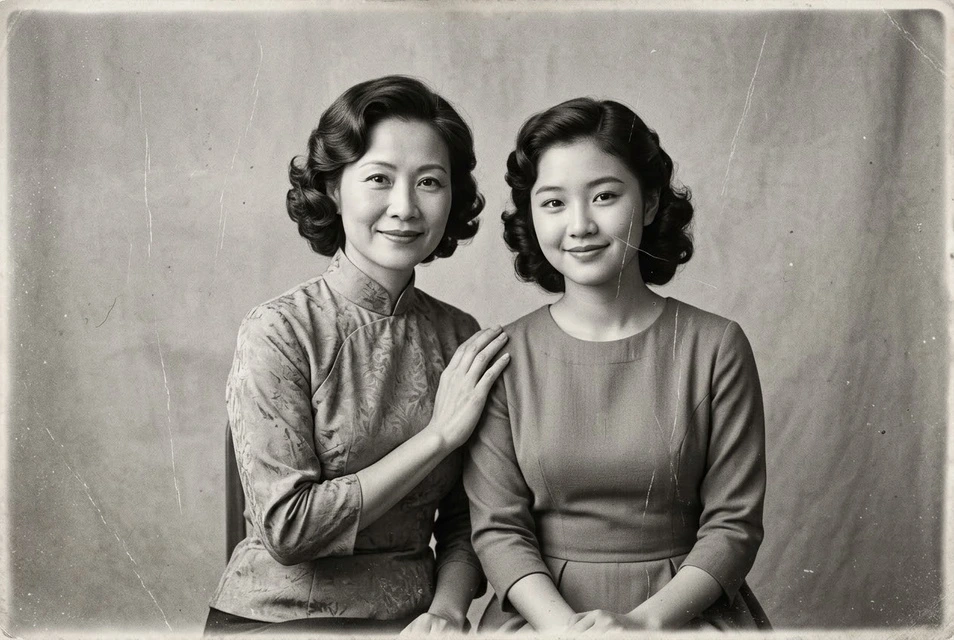
Photo repair → Restoration only
Inspect vertical scratches. Colourisation was not selected; check monochrome tones and facial details.
Edit with these settings ↗
Restoration + colourisation in one submission
Scratches are repaired and colour is added in one edit. Compare damage, facial detail and colour; inferred colours do not recover true historical colours.
Edit with these settings ↗The input is an AI-generated vintage-style portrait with simulated wear. The result was actually generated through our editor using Nano Banana 2.1; it does not prove restoration of a historical photograph or its true colours.
Repair addresses visible damage and readability; colourisation interprets missing colour. Select repair alone for cleanup or add colourisation for a coloured version. Colourisation and black-and-white processing are mutually exclusive. Large missing regions, severe blur and damaged faces cannot be guaranteed to recover authentic historical detail.
Scan the original flat, avoiding glass glare, screen captures and repeated compression. Keep the untouched file. Inspect any important dates, writing, badges and identifying marks.
Clean scratches and stains and improve fading; retain identities, monochrome tones, dates and period texture.
Edit my photo ↗Upload one clear photograph. This page’s entry selects the matching feature.
Confirm the preset or corrections. Required descriptions and target colours must be filled in; other settings expand on demand.
Check the cost and submit. Select the edited result to continue editing, or download it.
The editor shows the required credits and checks your balance before submission. An insufficient balance opens a recharge prompt. Compatible choices use one task; another generation is a separate task.
No. Repair and colourisation are separate choices. Keep black and white or combine repair with colourisation.
No. It is an edited version and cannot establish missing facts. Keep the original scan and label restoration or colourisation when sharing archival material.