Canva × My Look Story
Considering Canva? Start with the file you need to take away
A transparent product image and a finished social post are different deliverables. If you are choosing a Canva background-removal alternative, decide where the cutout will go next. This guide separates preparing a reusable subject from building a layout. You can open our background workspace with your own photo now; the vase below illustrates what to inspect, not a comparison of two services' results.
Prepare my cutout ↗Independent guide · No affiliation with the named competitor · Published by My Look Story
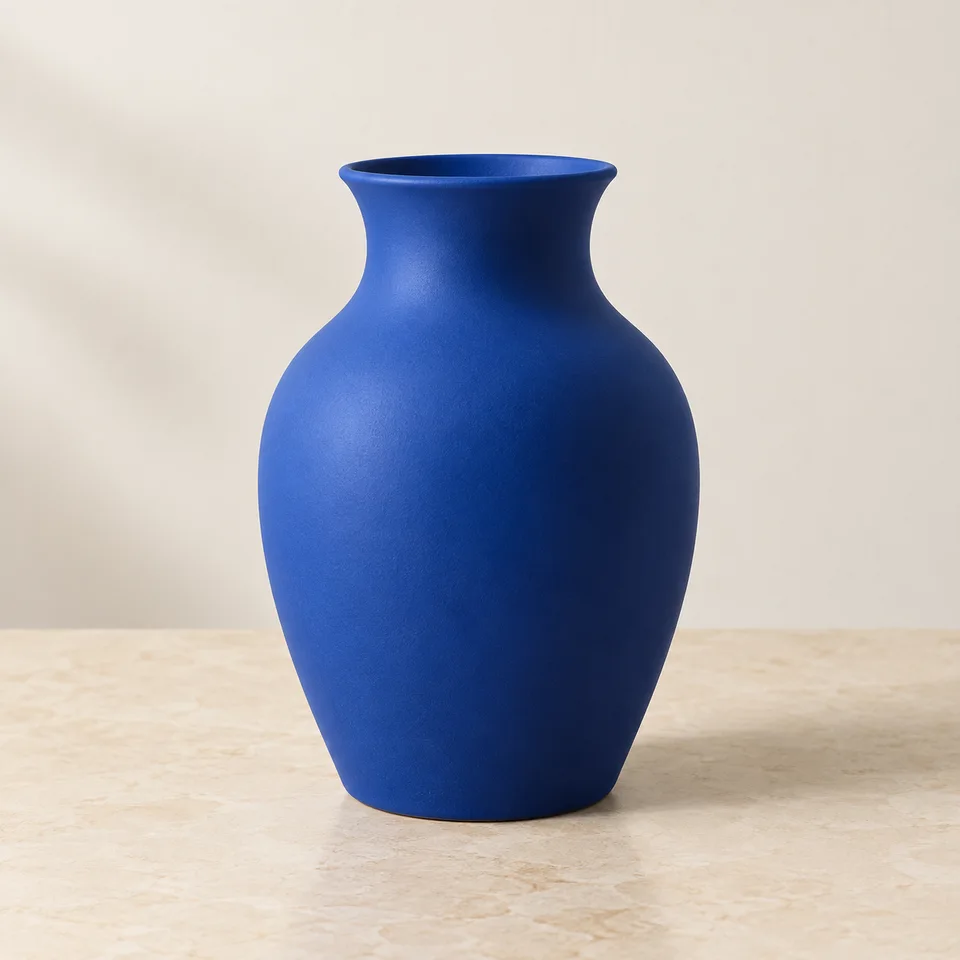 Reference illustration
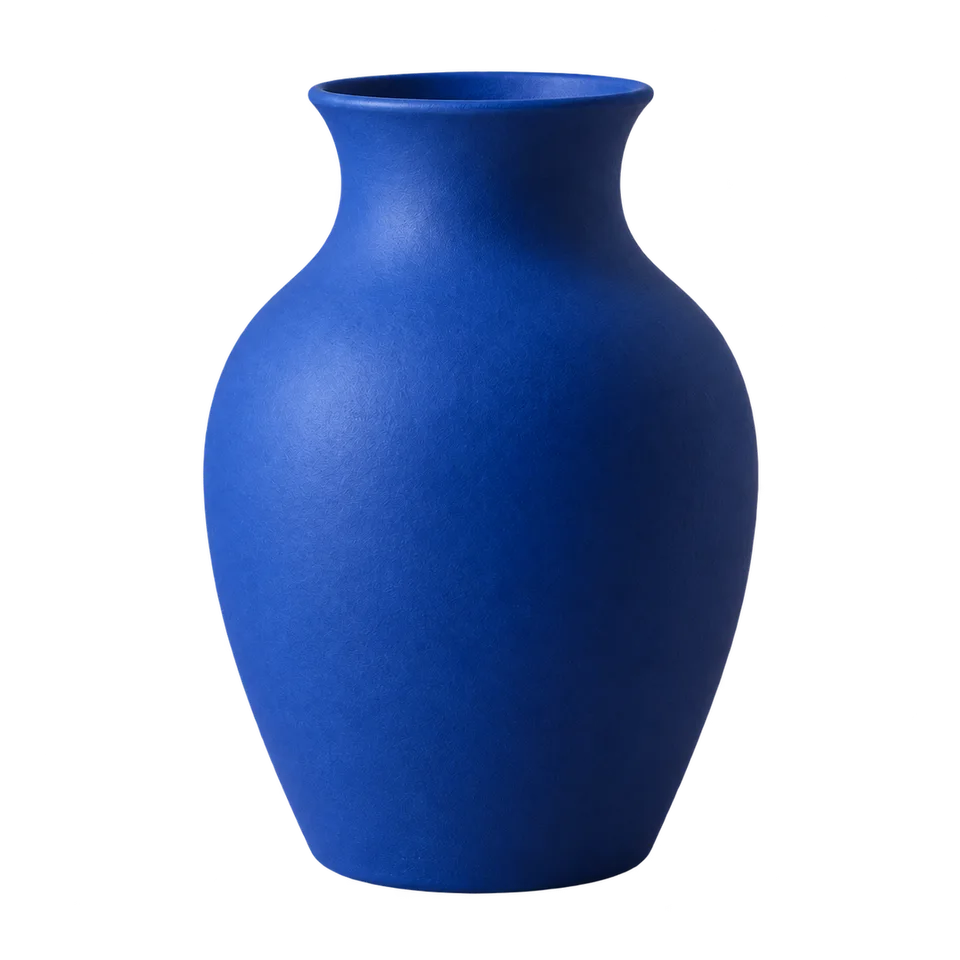 Blue ceramic vase isolated from its tabletop background, illustrating a reusable cutout
The practical answer
Canva combines background removal with a design editor. My Look Story provides a separate background workflow. Stay in your existing design project when layout, text and shared assets matter; consider a standalone cutout when you need a file for another destination. Neither a checkerboard preview nor a white-looking thumbnail proves that the downloaded file has the transparency you need.
1. Choose between an asset and a design project
Write the destination down before uploading: a shop listing, presentation, poster or another editor. A shop may require a solid background, while a slide may need transparency so its own color shows through. Those requirements determine the output you should request. Do not buy an editing plan just because a tutorial shows a convenient button; first establish whether you need the surrounding design tools or only a prepared subject.
A project keeps its text, spacing and other elements together. A downloaded cutout does not bring editable project layers with it. If you already have a Canva layout and collaborators, moving the photograph elsewhere can add unnecessary export and reimport work. If a different application is the destination, a portable image may be simpler. Our background tool is not a replacement for Canva's template library, typography, collaboration or document editing.
2. Separate transparency, a solid backdrop and blur
Transparency removes the backdrop so another surface can appear behind the subject. A solid background fills that area with one color. Background blur keeps the original setting visible but less distracting. They are not interchangeable: a white rectangle can look correct on a white page yet block a colored slide, and a blurred room is still a room. Ask which result the recipient accepts rather than assuming every background-removal task wants the same file.
The action here opens our background workspace, where you can inspect the available background choices before submitting. Confirm the current output and credit summary there. Canva's official instructions connect cutout work with design and export steps; account access and download settings deserve their own check. We do not reproduce an erase-and-restore brush, layer editor or membership entitlement merely by offering a background tool.
3. Prepare a photo whose boundary can be inspected
Use the largest original you can legitimately process instead of a screenshot of a screenshot. Keep the whole vase, product or person inside the frame, with visible space around its boundary. A handle against a similar-colored wall or hair crossing a busy shelf makes inspection harder. If you can retake a product photograph, separate the object from its backdrop and avoid a harsh cast shadow crossing its outline. Preparation improves the evidence you can judge; it does not guarantee a perfect mask.
For a vase, check that the mouth and base remain intact and that the tool has not mistaken the dark opening for removable background. For products with gaps, inspect those gaps separately. Clear glass, shiny metal and translucent fabric can contain real reflections or partial transparency, so a clean silhouette alone is insufficient. Our opaque ceramic example does not demonstrate glass handling, logo tracing, editable vector paths or precision manufacturing output.
4. Check the download in its real destination
Open the resulting image on both a light and a dark background. Look for bright halos, missing edges, leftover tabletop, accidental holes and flattened shadows. Inspect at normal viewing size as well as close up: a tiny defect may be irrelevant in an avatar but obvious in a large product card. Do not interpret the transparency grid in a preview as part of the photograph, and do not assume an attractive preview proves the exported file's pixel quality.
Place the actual download in the shop, slide or editor you intend to use. Confirm that the receiving software preserves transparency and that no later conversion adds a solid rectangle. PNG can carry transparency; the filename alone does not prove that this particular PNG does. Keep the source separately so you can retry or choose a manual editor if the subject's edge is unacceptable. This workflow prepares an asset, not a promise that a marketplace will approve a listing.
5. Know the cost, permission and comparison limits
Check each service's current access, paid export conditions and total before confirming. We have not compared equivalent paid plans or established a cheaper winner. Upload only photographs whose processing you can authorize; stripping a background does not remove a photographer's rights or turn a licensed design element into an unrestricted asset. Our service receives the photo for processing. Removing a completed record from My Creations hides it from user history; it is not proof of immediate erasure from providers, administrative records and backups.
We read Canva's public tool and localized editing instructions, verified our public background entry, and reviewed these owned examples on mobile and desktop. This guide is published by My Look Story, which may benefit when you use its tool, and is not affiliated with Canva. We did not conduct a paid same-photo mask comparison, a privacy audit or an export entitlement test in a Canva account. Read the linked privacy policy and contact [email protected] for data requests. Review date: October 7, 2026.
Official sources
Reviewed October 7, 2026
Privacy and deletion requests ↗